目次
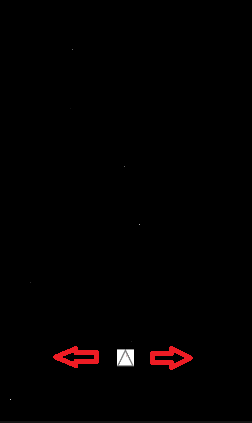
今回はクリックした位置に向かってキャラクターが左右に移動する機能をAnimatorを使って開発します。
Animationの作成
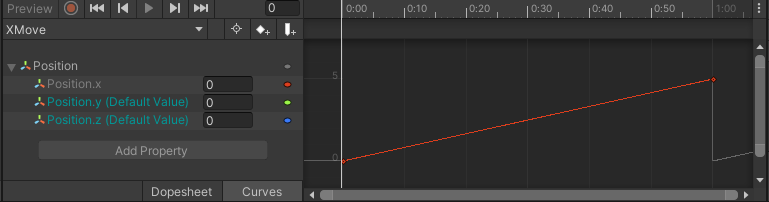
まずは、[プロジェクト]ウィンドウの右クリックメニューから「Animation」を作成します。名前は適当にXMoveにしておきます。X位置のアニメーションを下記の画像のように作成します。

移動量を一定にするため左下のCurvesボタンからアニメーションカーブを直線にします。線の左右の端を右クリックメニューのAutoで自動設定できます。
Animator Controllerの作成
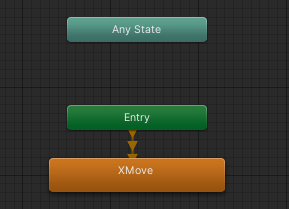
[プロジェクト]ウィンドウの右クリックメニューから「Animation Controller」にを作成します。名前は適当にPlayerAnimatorにします。先ほど作ったXMoveアニメーションを配置してXMoveステートを作成。
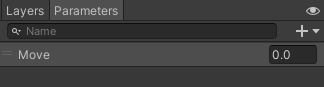
Animator Controller – Parametersの設定
移動量を指定するパラメータを作成しておきます。
XMoveステートの Inspector
Multiplierプロパティに先ほど作ったMoveのプロパティを選択します。

サンプルコード
移動量を調整できるようにmoveRate変数を宣言します。
using UnityEngine;

public class PlayerMove : MonoBehaviour
{
    public Animator animator;

    [Range(0, 99)]
    public int moveRate = 80;

    void FixedUpdate()
    {
        float input = 0;
        if (Input.GetMouseButton(0))
        {
            var worldCamera = Camera.main;
            var screenPos = RectTransformUtility.WorldToScreenPoint(worldCamera, transform.position);
            input = Input.mousePosition.x - screenPos.x;
        }
        animator.SetFloat("Move", input / (100 - moveRate));
    }
}
完成!
ダウンロード
下記リンクからソースコード一式をダウンロードできます。
参考文献
[Unity マニュアル ブレンドツリー](https://docs.unity3d.com/ja/2019.4/Manual/class-BlendTree.html)
[Unity マニュアル アニメーション遷移](https://docs.unity3d.com/ja/2018.4/Manual/class-Transition.html)